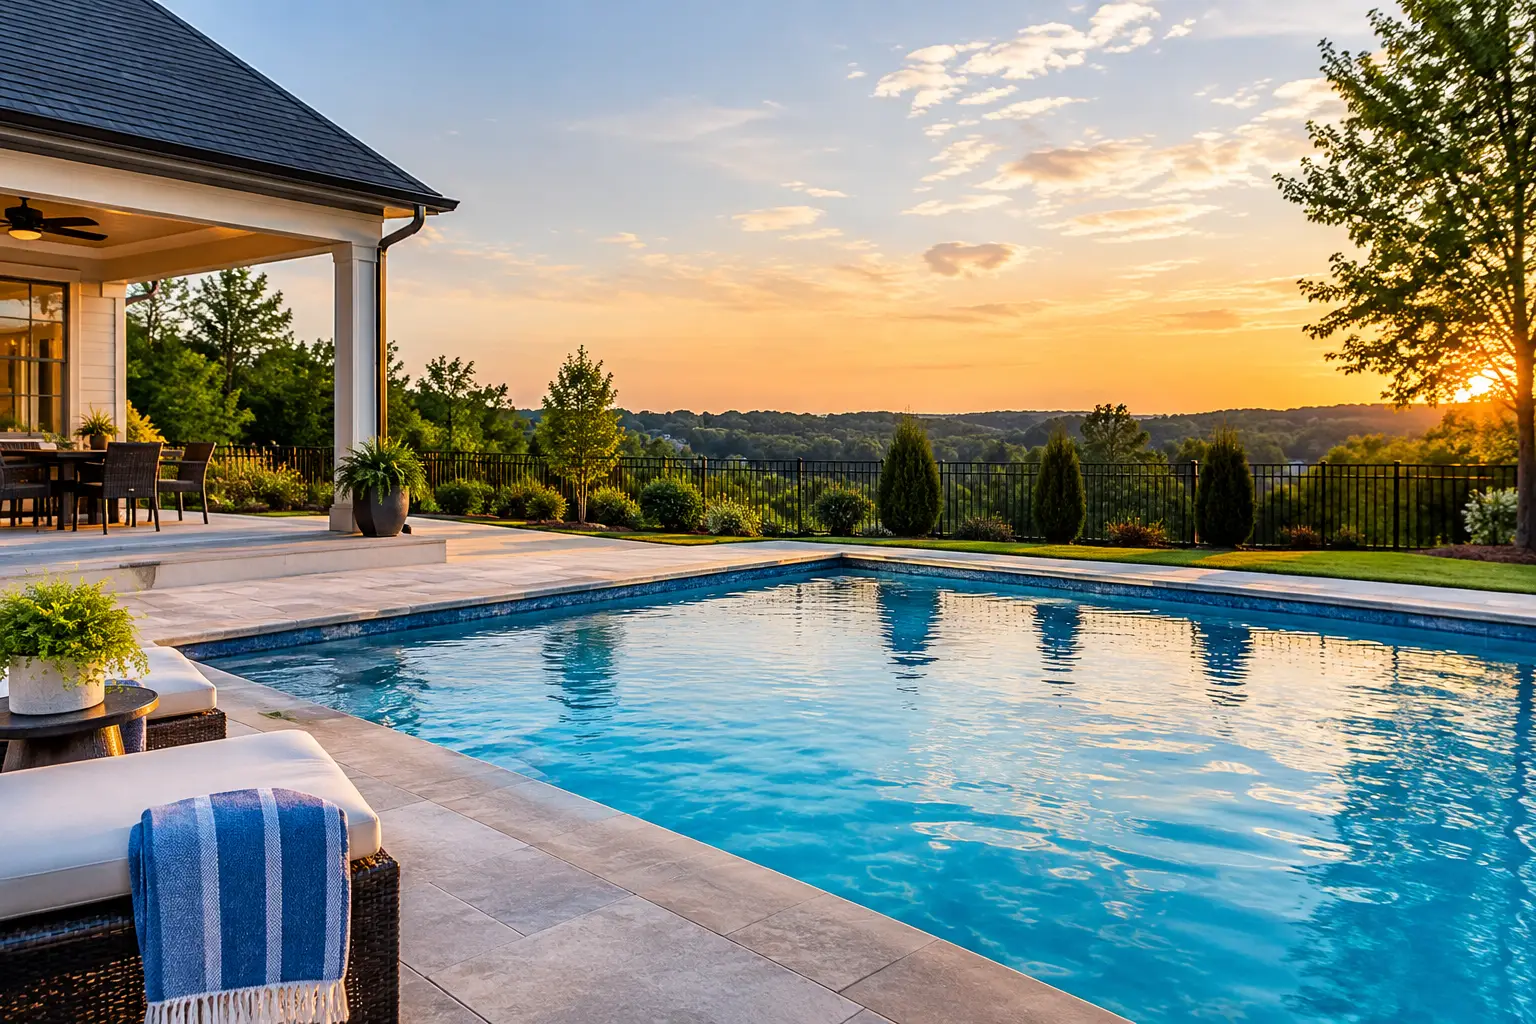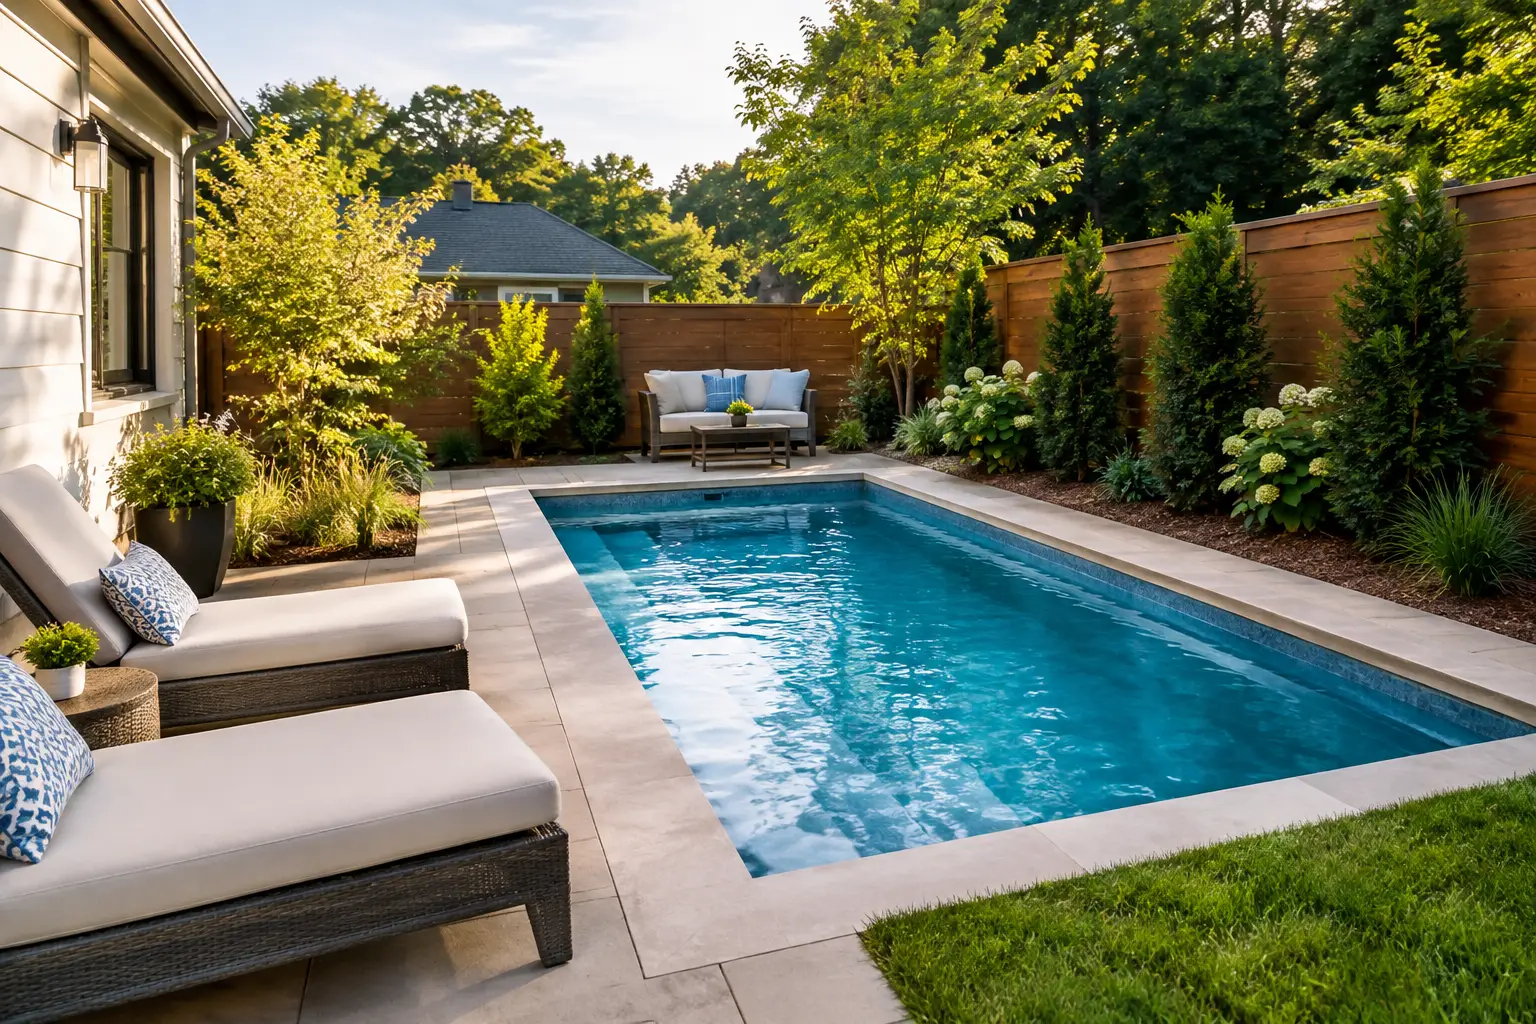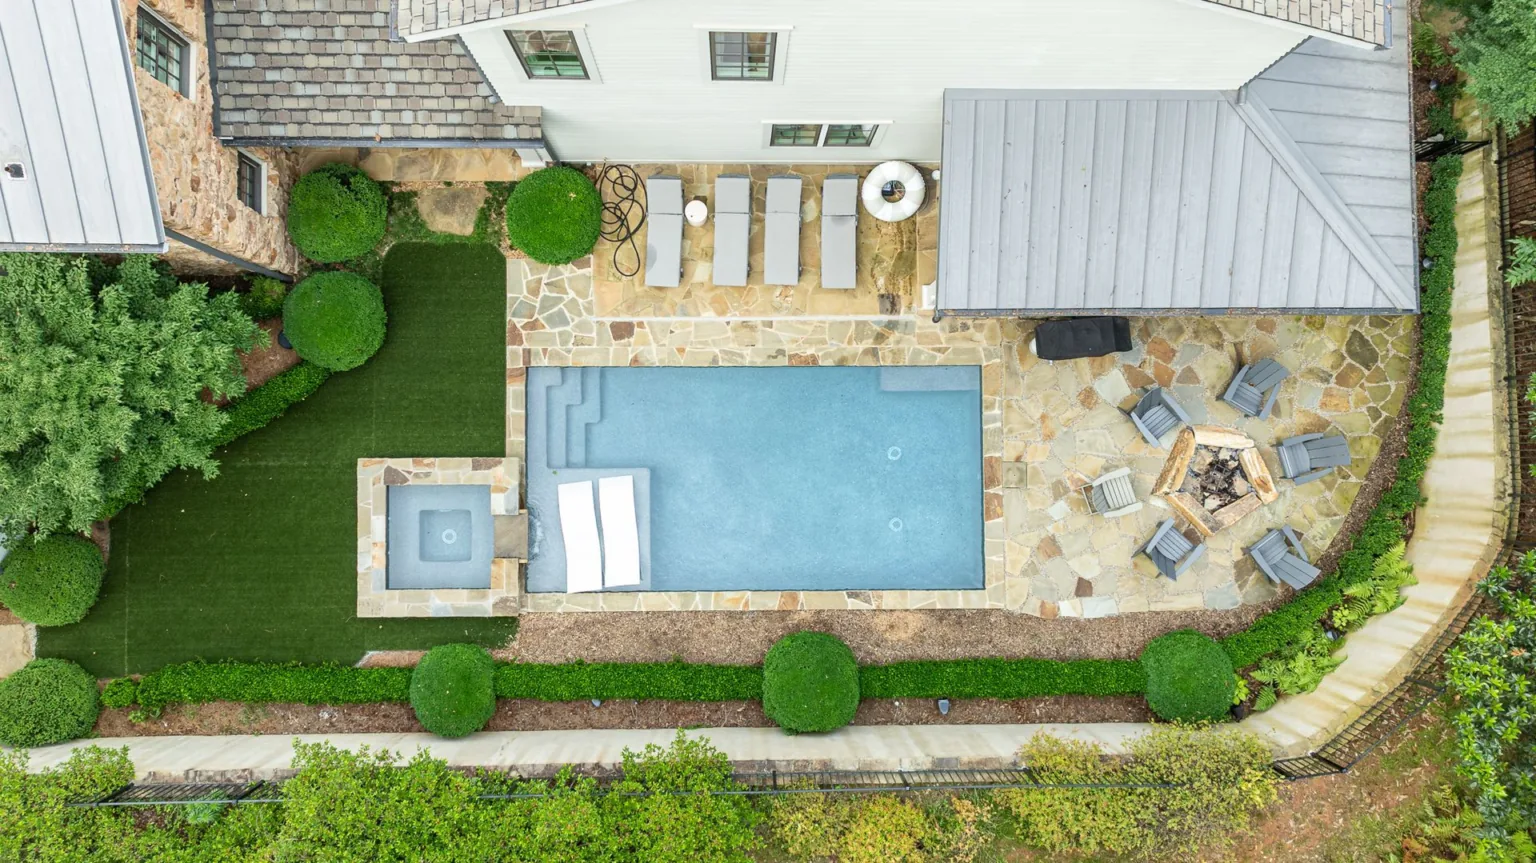
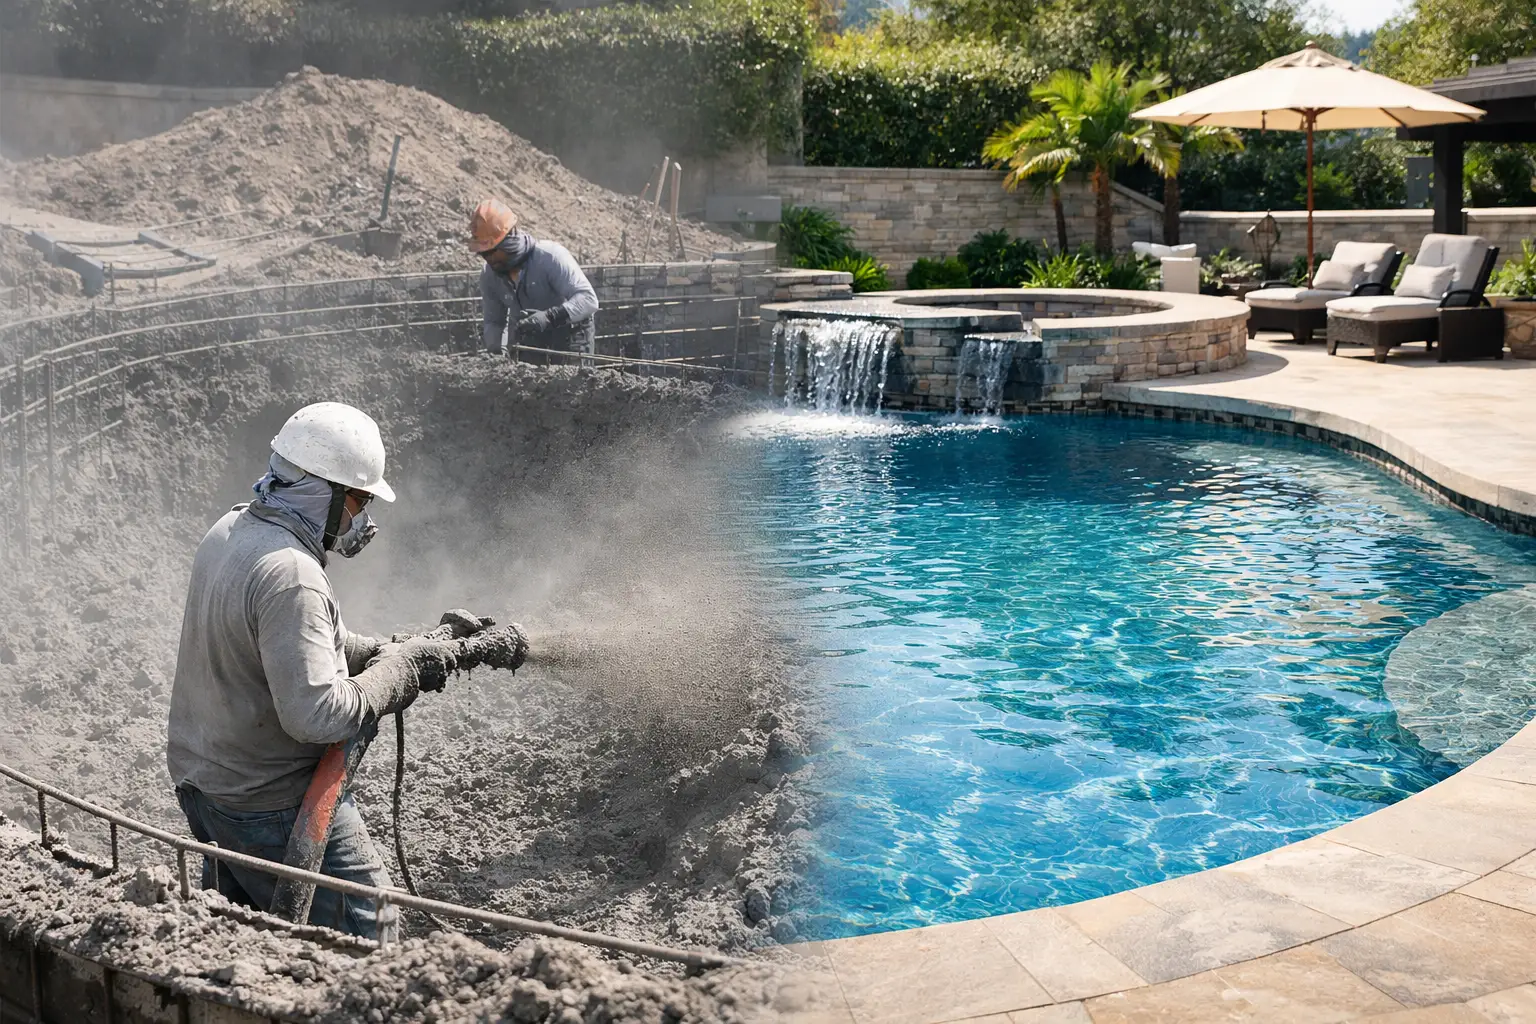
A gunite pool is built in a set sequence: design and site planning, permits, layout and excavation, steel reinforcement, plumbing and electrical rough-in, gunite application, curing, tile and coping, equipment and interior finish, and finally startup. Gunite pools, often called concrete or shotcrete pools, are formed by hand on your property, so the quality of each step shows up in how the pool looks, performs, and holds up for decades.
This guide walks through each phase in order, explains what happens and why it matters, and covers what affects the schedule and cost along the way.
What makes gunite different
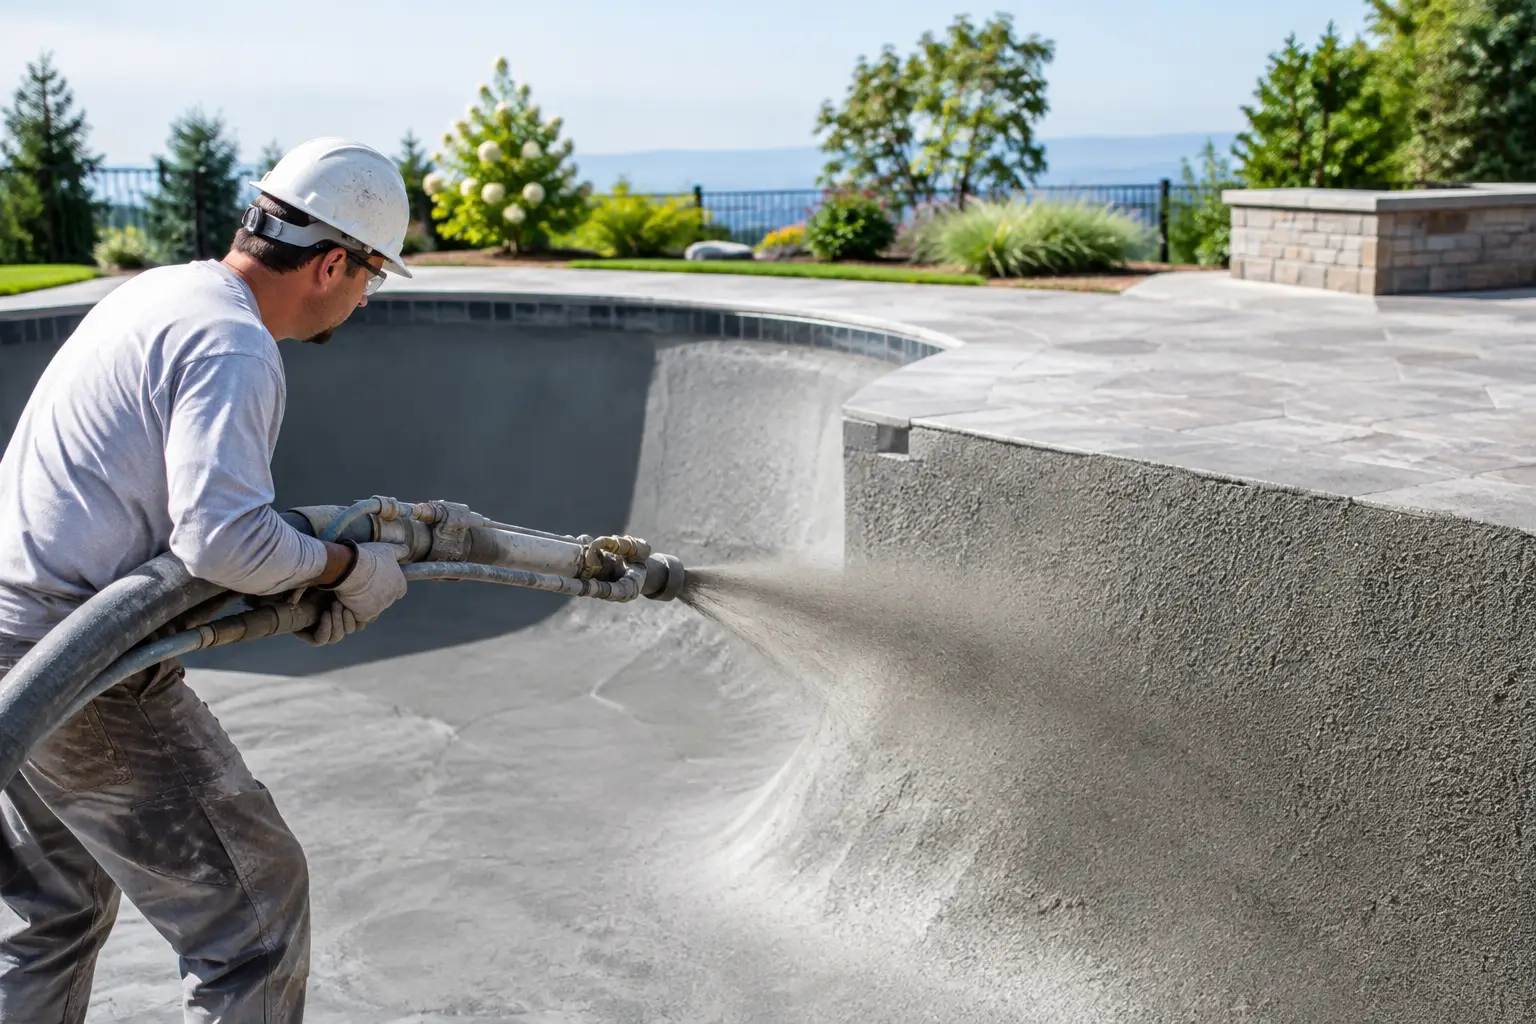
Gunite is a concrete application method. Steel rebar forms the skeleton of the pool, then a dry concrete mix is sprayed at high pressure and combined with water at the nozzle. The result is a strong shell that can take almost any shape, depth, or built-in feature: a tanning ledge, an attached spa, bench seating, a deep end, clean geometric lines, or a freeform layout.
The trade-off is time and complexity. Because the pool is built in place, weather, inspections, curing, and finish work all shape the schedule. For a deeper look at the material itself, read what a gunite pool is.
Step 1: Design and site planning
This phase decides whether the project is merely possible or truly well planned. The builder evaluates the yard’s slope, drainage patterns, access for equipment, utility locations, and setbacks, and how the pool should relate to the house. Good design is about more than shape. It covers how you will use the pool, where people will walk, visibility from inside the home, and where the equipment will sit.
Shape, depth, entry steps, benches, tanning ledges, spas, and water features all need to be settled before excavation. In Northeast Georgia, red clay soil and grade changes can influence the excavation approach and structural requirements, so the pool has to be designed for the property, not forced onto it. Bulldog’s 3D custom pool design lets you see the layout in real scale before work begins.
Step 2: Permits and approvals
Local requirements have to be handled before construction starts. That can include setbacks, safety barrier rules, electrical approvals, and inspection scheduling. Requirements vary by county and city, and topography and drainage can become part of the review on sloped lots. Incomplete plans and permit delays can slow a project fast, which is one place an experienced builder earns its keep.
Step 3: Layout and excavation
Once the design is approved, the pool is marked on the ground with paint, stakes, or string so you can see the exact shape and position. The builder confirms elevations and distances from the house and property lines, and plans the access route for excavation equipment and material deliveries. On tight lots, access matters more than most homeowners expect.
Excavation then turns the plan into a real form in the ground. This is not just digging to a rough outline. The hole needs correct dimensions, wall angles, floor transitions, and room for steel and gunite. Excavation can also reveal hard soil, rock, groundwater, or buried debris. None of those stop a job automatically, but they can affect the schedule and cost.
Step 4: Steel reinforcement
Rebar is tied into a framework throughout the pool, including steps, benches, and any spa or raised wall. This steel cage is the structural backbone of the shell. Spacing, tie placement, and engineering all matter because the shell’s strength depends on the steel and concrete working together. Pools with raised walls, vanishing edges, or attached spas often need more involved engineering than a simple rectangle.
Step 5: Plumbing, electrical, and fittings
Before any gunite is sprayed, crews install main drains, skimmers, returns, light niches, and the lines for any spa jets, bubblers, or water features. Plumbing is pressure-tested, and conduit and bonding for electrical components go in. Inspections usually happen before the next step.
This stage is easy to overlook if you are focused on finishes, but it has a major effect on how the pool circulates and filters. Poorly routed or undersized plumbing causes headaches later. The equipment plan also comes into focus here: pump, filter, heater, sanitation, lighting, and automation. If you want app-based controls or on-demand spa heat, decide early.
Step 6: Gunite application
This is the defining day of the project. The crew sprays gunite over the steel to the engineered thickness, packing it tightly as it goes, then trims and shapes the shell by hand. Steps, benches, curves, and transitions are refined during this process. Skilled application matters because consistency, compaction, and shape accuracy all affect long-term performance and how well the finish goes on later.
Step 7: Curing the shell
After the shell is shot, it needs time to cure and gain strength. Depending on the weather, the shell is often watered regularly during this period, especially in Georgia summer heat. This stage can test your patience because the pool already looks real, but a rushed cure is not a sign of efficiency. It usually means someone is putting speed ahead of durability. Read more about why this matters in is a gunite pool durable.
Step 8: Tile and coping
Once the shell has cured, crews install waterline tile and coping around the top edge of the pool. These pieces define the look, from sharp and modern to soft and natural, and they also protect the edge of the shell. At this stage, the area around the pool is graded so it slopes away from the water and rain runs off instead of collecting along the pool’s edge. In Georgia, with heavy rain, drainage planning is part of building the pool correctly, not an optional extra.
Step 9: Equipment and interior finish
The equipment is set and connected. Good equipment placement keeps it accessible for service, quieter, and out of the main view. The interior finish is then applied. Plaster, quartz, and pebble finishes each have trade-offs: standard plaster costs less, while upgraded finishes offer more texture, color depth, and longevity.
Step 10: Fill, startup, and handoff
The pool is filled right after the interior finish goes on, and startup begins. Water chemistry is adjusted carefully so the new surface cures properly, and every piece of equipment is tested. Final inspections are completed, and you are shown how to run the system and care for the pool. New finishes need extra attention at first, so this is not the time to guess at care instructions.
What affects the timeline
Every gunite project has its own schedule. Design complexity, site access, soil conditions, permits, inspections, material lead times, and weather all play a part. Rain in Georgia affects excavation, concrete work, and finish scheduling. Bulldog gives you a schedule after a site visit. For a phase-by-phase look at timing, see how long it takes to build a gunite pool.
What affects cost
Size matters, but it is not the only driver. Shape complexity, depth changes, access, soil conditions, engineering, finish upgrades, heating, lighting, automation, and attached features like a spa all move the number. A simple custom pool on an easy lot is a different project from a pool and spa with premium finishes on a sloped site. Neither is better; the budget just needs to match the scope.
Be careful with low early quotes. If a proposal does not account for site conditions, equipment quality, or drainage, the final cost can look very different. Our Gunite Pool Cost in Georgia guide explains what goes into the price.
Choose a builder who explains the process
A gunite pool is only as good as the planning and craftsmanship behind it. Look for a builder who can explain the structural steps, talk plainly about your site conditions, and tell you how the schedule is managed, what is included, and how changes are handled. Straight answers early usually lead to a better experience later. You can see how we work on our process page.
If you are planning a gunite pool in Northeast Georgia or Upstate South Carolina, schedule a consultation or call (706) 705-7751. We will walk your property and show you what it takes to build your pool the right way.