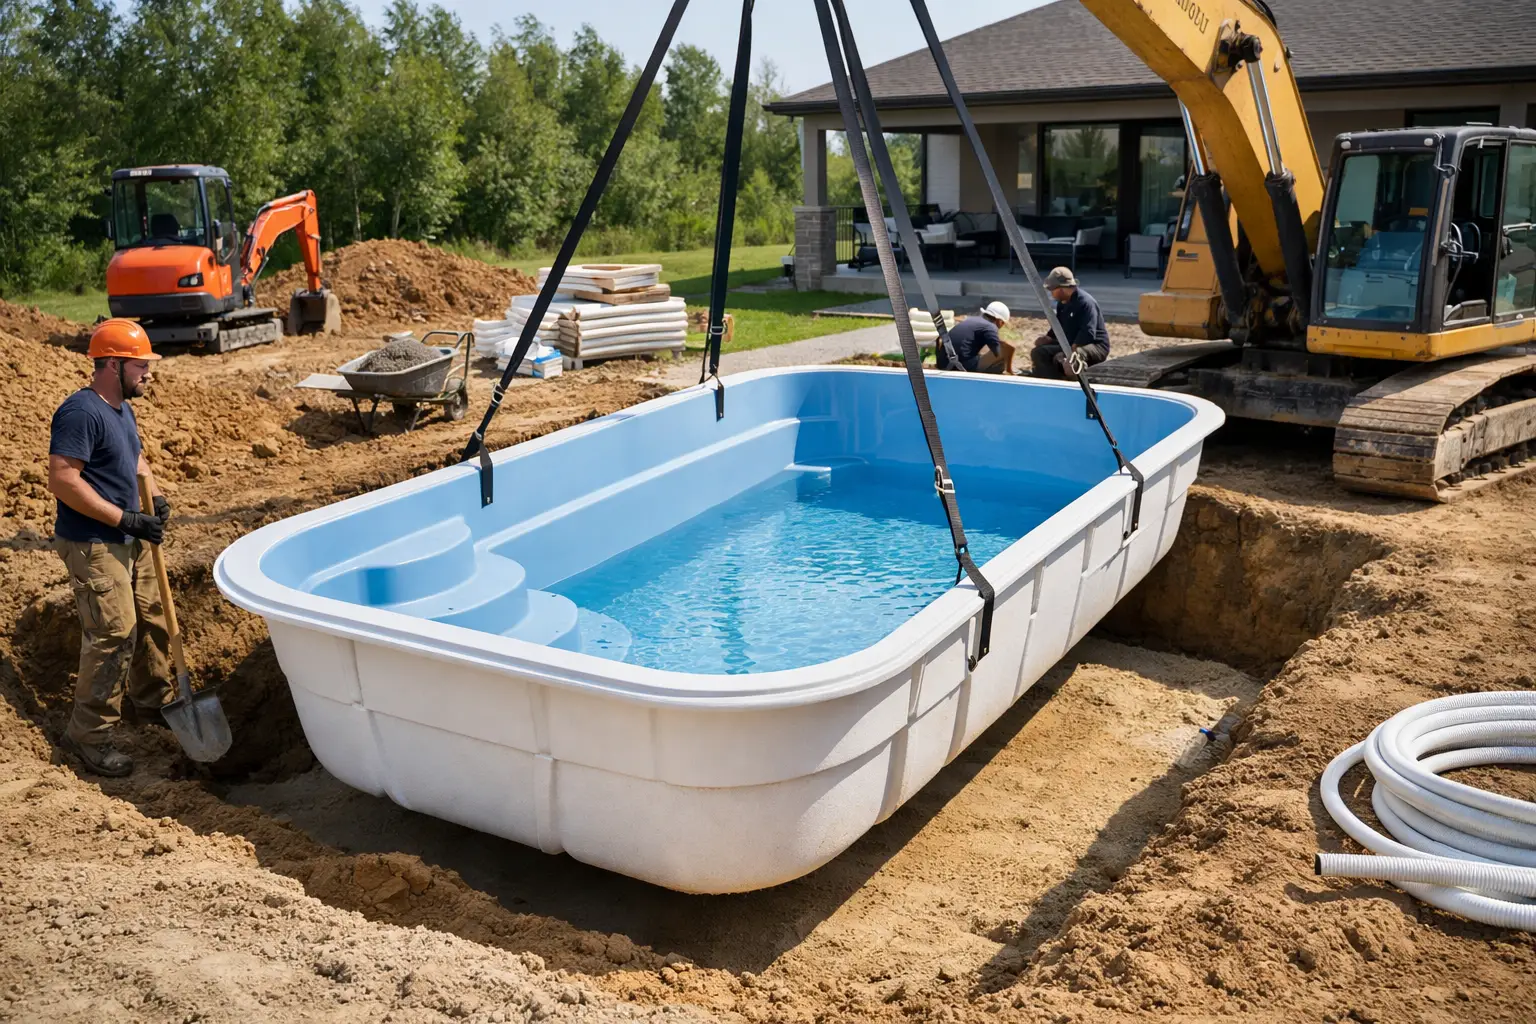
The fiberglass pool installation process has seven main steps: site evaluation and design, selections and permits, excavation, setting the shell on a level base, plumbing and electrical, staged backfill and filling, and finishing with coping, grading, safety barriers and startup. The shell is made in a factory, but the quality of the finished pool depends on how carefully each of these steps is done on site.
For homeowners in Northeast Georgia and Upstate South Carolina, local conditions shape every phase. Sloped lots, red clay, buried rock, heavy rain, access limits and permit rules that vary by county and city all affect the plan. Here is what a well-managed installation looks like from the first site visit to the first swim.
1. Start With a Site Evaluation and Layout
The process begins with a consultation at your home. This is where the pool’s model, size, depth, orientation and relationship to the house are decided. The pool should sit where it supports how your family plans to use it, whether that means active play, quiet evenings or hosting friends.
The builder assesses the usable area, grade changes, drainage patterns, underground utilities, setbacks and access for excavation equipment and the delivery truck. Access is a major consideration with fiberglass because the shell arrives in one piece. A narrow side yard, mature trees, power lines or a steep driveway may need extra coordination, or a section of fence may have to come down temporarily.
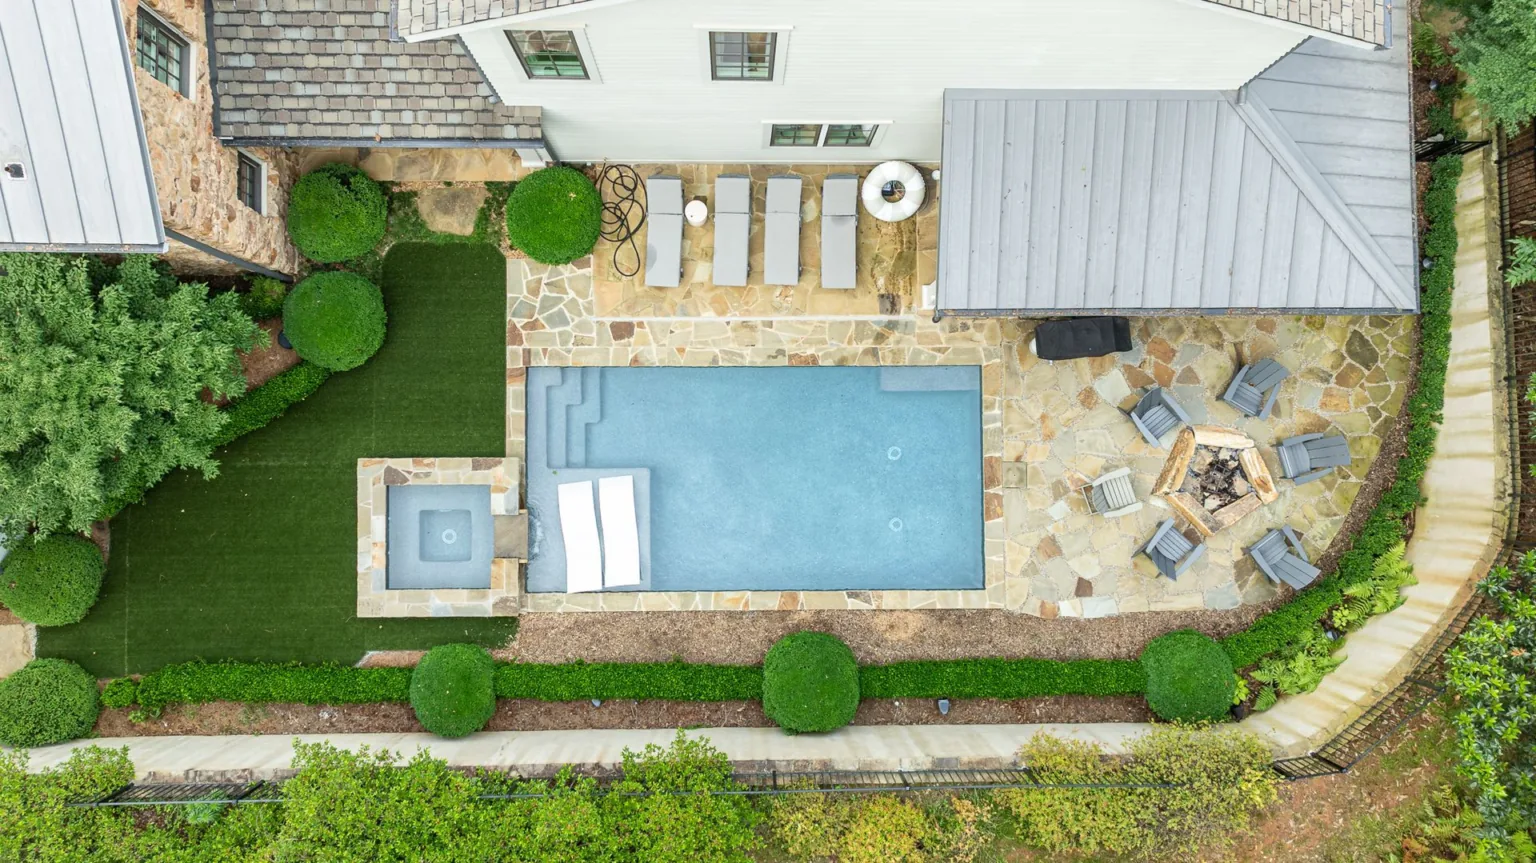
This is also the time to plan space around the pool for chairs and walking room, the equipment location and how water will drain away from the pool and the house. Those are much easier to plan now than to fix later. Our guide on preparing your yard for a pool covers what homeowners can do ahead of time.
2. Finalize Selections, Permits and Scheduling
Once the layout is approved, you make your selections: shell model and color, coping, waterline tile if desired, equipment, lighting and safety features. Tanning ledge bubblers, an attached spa and automation should be decided early because they affect plumbing and electrical work.
Permit requirements vary by county and city. Most projects need review of the site plan, pool location and barrier requirements, and sometimes drainage or electrical details. Your builder should handle permits and schedule inspections. See pool permits in Georgia for more.
Scheduling depends on permit timing, weather, shell availability and site conditions. Fiberglass generally installs faster than a site-built pool because the shell is manufactured before it reaches your property, but speed should never replace proper preparation. We give you a schedule after the site visit and keep you informed if rain, rock or a utility issue changes it.
3. Prepare Access and Excavate
Before digging, utility lines are marked, access routes are protected where possible and the pool outline is laid out on the ground. That gives you a last chance to see the pool’s scale and placement in your yard.
The excavation is dug larger than the shell to leave room for base material, plumbing, backfill and accurate leveling. The floor of the hole must be shaped to support the shell evenly, with no high spots or voids.
Soil conditions matter here. Dense clay, rock and slopes are common in this region. If groundwater shows up or the hole holds water after heavy rain, the plan may need drainage measures. A dependable builder deals with those conditions directly instead of covering them up.
4. Build the Base and Set the Shell
A base of clean gravel or a similar approved material is placed in the bottom of the excavation, compacted and carefully leveled. This base supports the shell and gives the crew a stable surface for precise placement.
Then comes the moment most homeowners remember: the shell is delivered and lifted into the hole, usually by crane. The crew guides it into position, checks level and makes adjustments before moving on.
Precision is critical. The shell has to sit level in every direction and match the planned elevations for coping and steps. A pool that looks level from one side can still be off enough to cause an uneven waterline, so the crew measures throughout this stage.
5. Install Plumbing, Equipment and Electrical
With the shell in place, the crew connects suction lines, return lines, skimmers, drains and any feature plumbing for bubblers, water features or a spa. Plumbing is pressure-tested before it is covered so any leak can be found and corrected while the lines are still easy to reach.
Equipment is installed in a planned location that balances service access, noise and appearance. A typical package may include a variable-speed pump, filter, heater, salt system, automation controls and a low-voltage power supply for the lights. The right setup depends on pool size, expected use and whether you want app-based control or heating.
Licensed electricians connect pumps, lights and controls, along with required bonding and safety protection. This is not a place to cut corners. Proper electrical work protects swimmers and keeps the system reliable.
6. Backfill and Fill the Pool in Stages
Backfill is one of the most important steps in fiberglass installation. The space around the shell is filled with appropriate material while water is added inside the pool in controlled stages. Keeping the water level and backfill level close together balances pressure on both sides of the shell walls.
The crew checks level repeatedly, protects the plumbing lines and compacts backfill carefully. Rushing this step can lead to settling later around the pool’s edge. At this point the pool starts to look real, but the yard is still a construction site.
7. Finish With Coping, Grading, Safety Barriers and Startup
The final stage includes installing the coping, grading the disturbed area so the ground around the pool slopes away from the water and the house, and putting required fencing or other barriers in place. On sloped properties, this may also involve drains or careful elevation work so runoff does not wash soil into the pool. Our pool drainage planning guide explains why this matters in Georgia.
After final inspections, the equipment is started, the pool is brought to its operating level and the water chemistry is balanced. You get a walkthrough of the system: how to run the pump, manage filtration, use the controls, test the water and care for the pool through the season.
What Can Change the Schedule?
A straightforward project can move efficiently once permits, shell delivery and site conditions line up. But every yard has variables:
- Difficult access or a crane setup that needs extra planning
- Rock or unsuitable soil found during excavation
- Rain and saturated clay
- Drainage work or utility relocation
- Inspection timing
- Added features such as a spa or water features
A longer schedule does not mean a project is off course. It usually means the work is being done for the property in front of you rather than forced into a one-size plan. Clear communication from your builder is what keeps it manageable.
Ready to Start?
A fiberglass pool can be an efficient route to a finished pool, but lasting value comes from the work beneath and around the shell. Learn more on our fiberglass pools page, then schedule a consultation or call (706) 705-7751 to have us evaluate your yard.