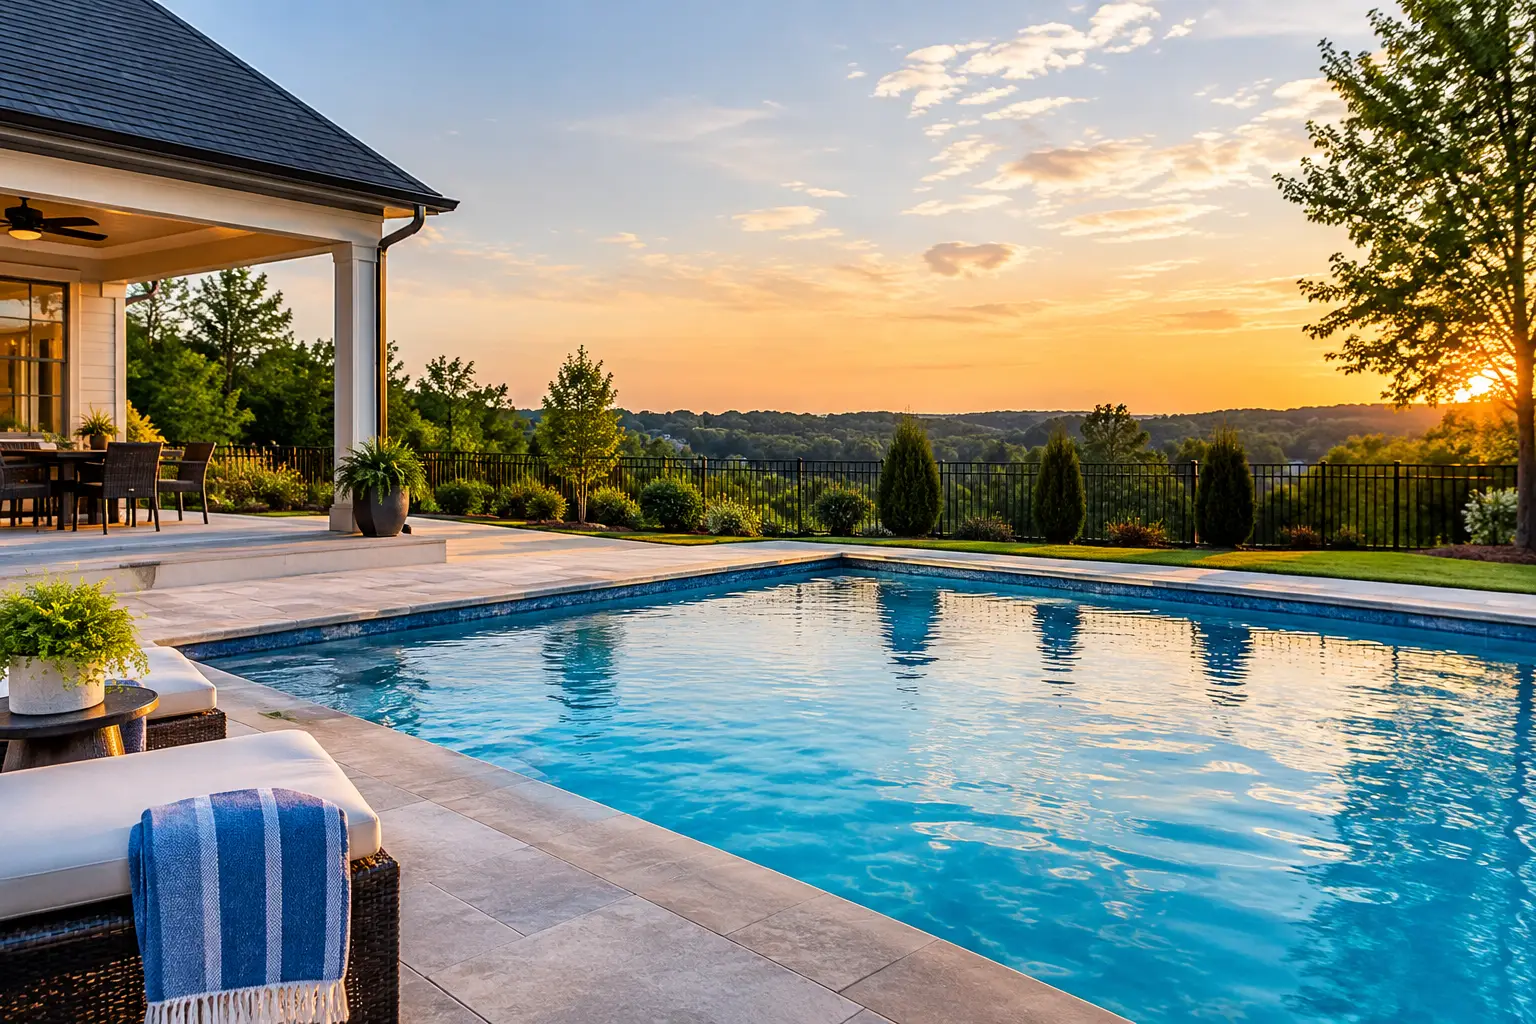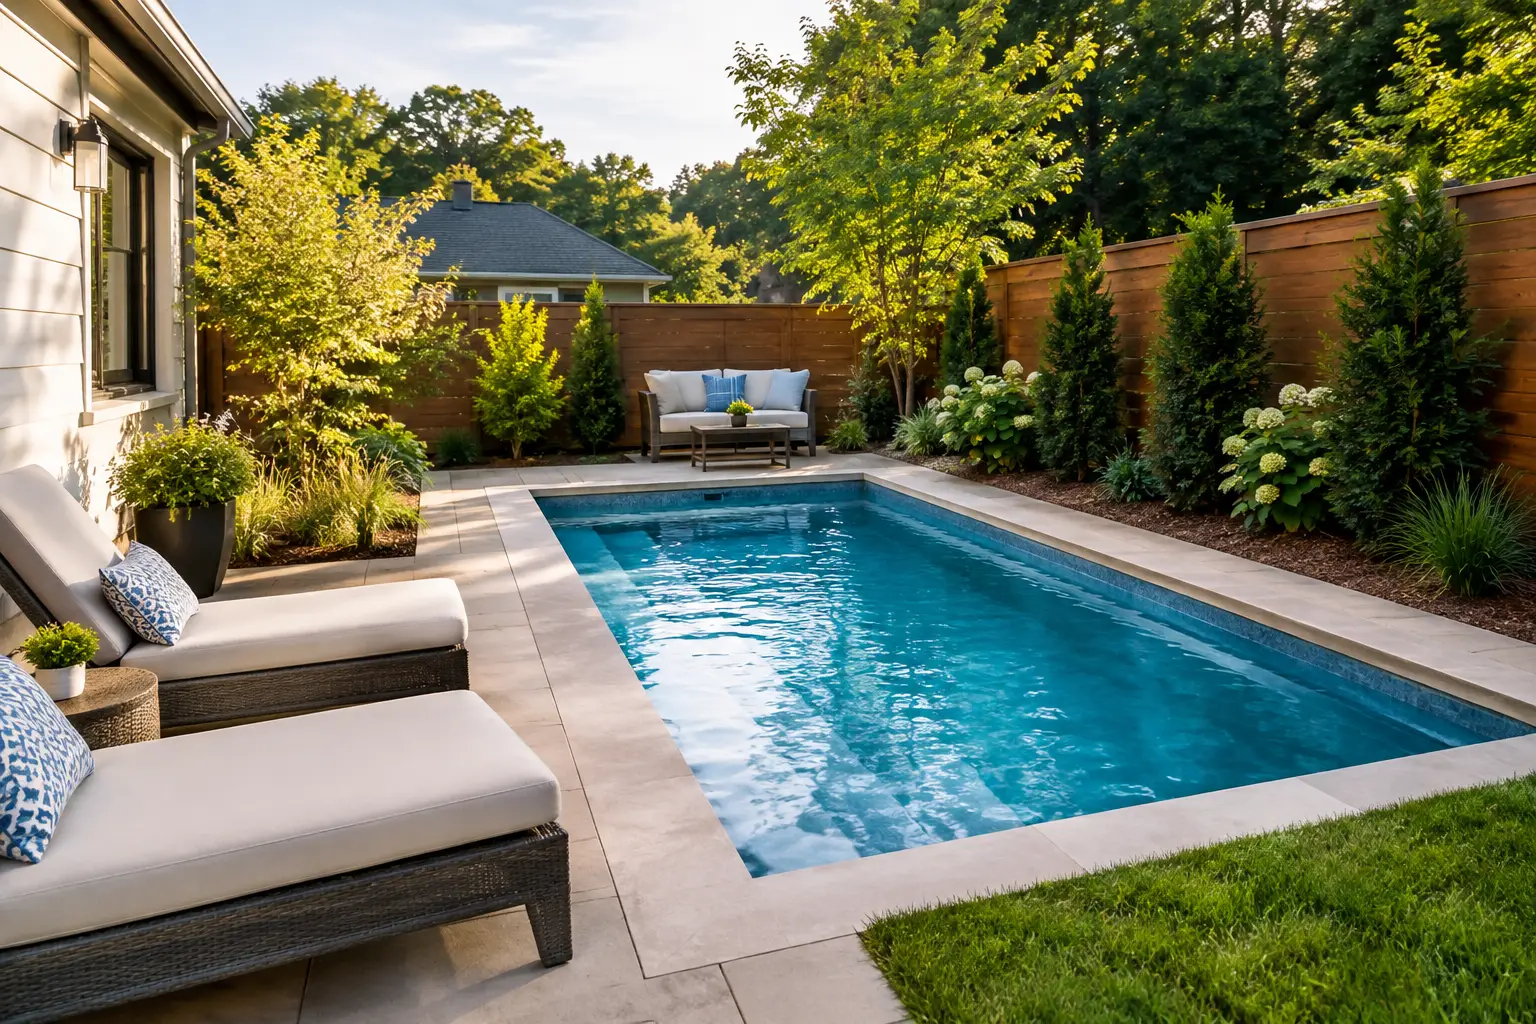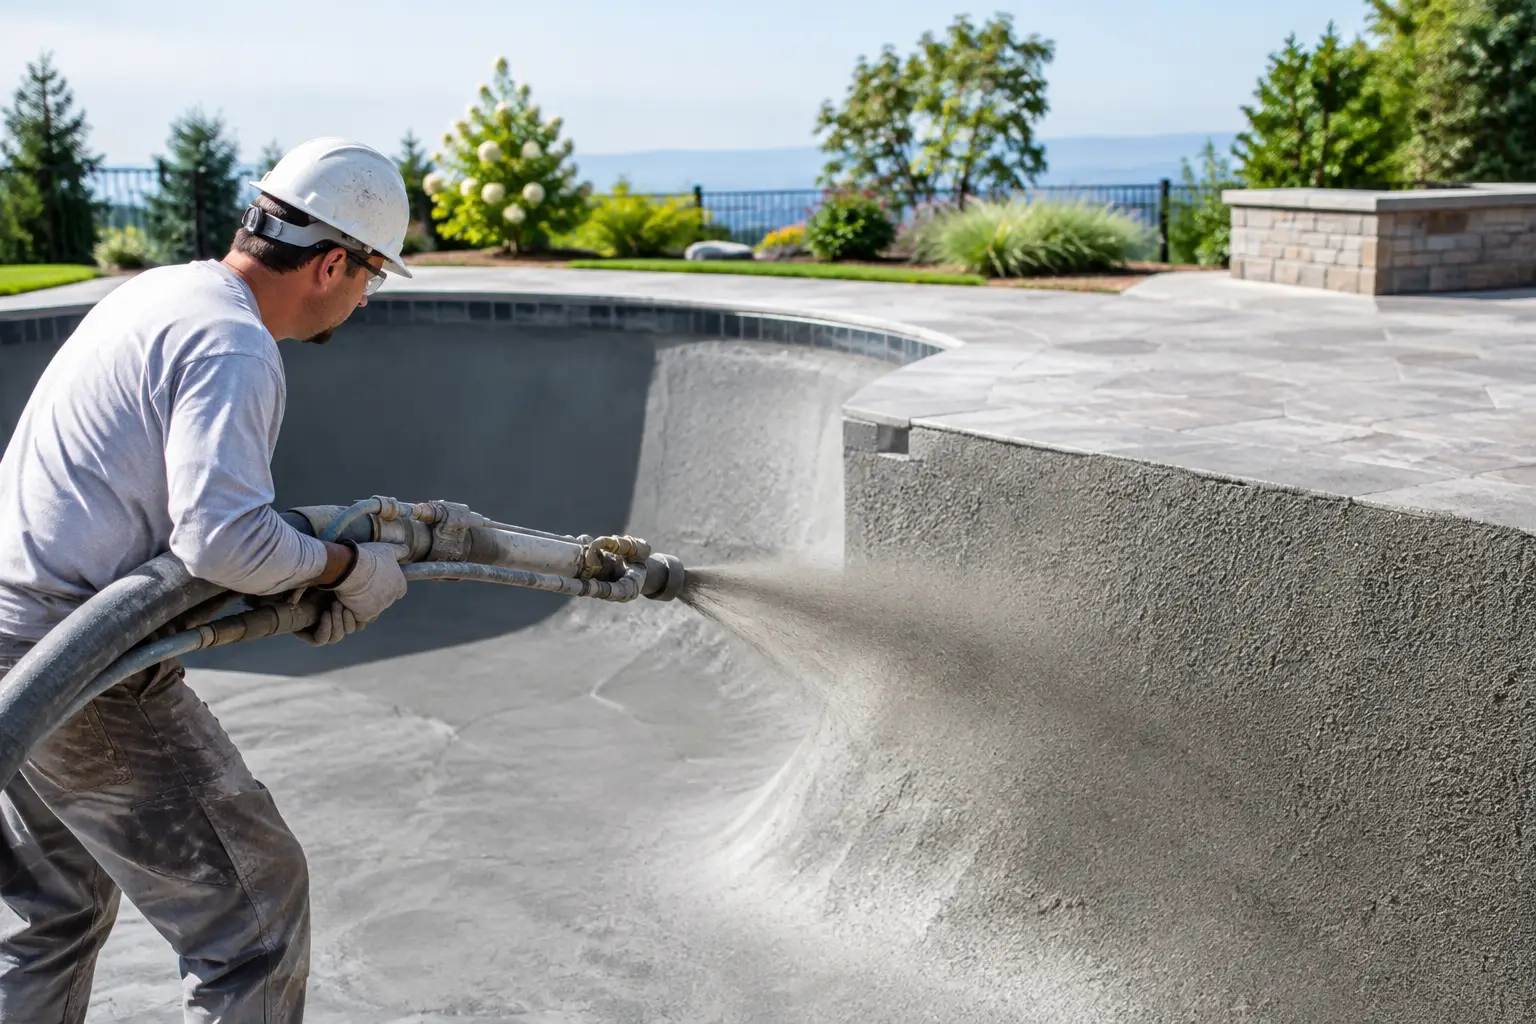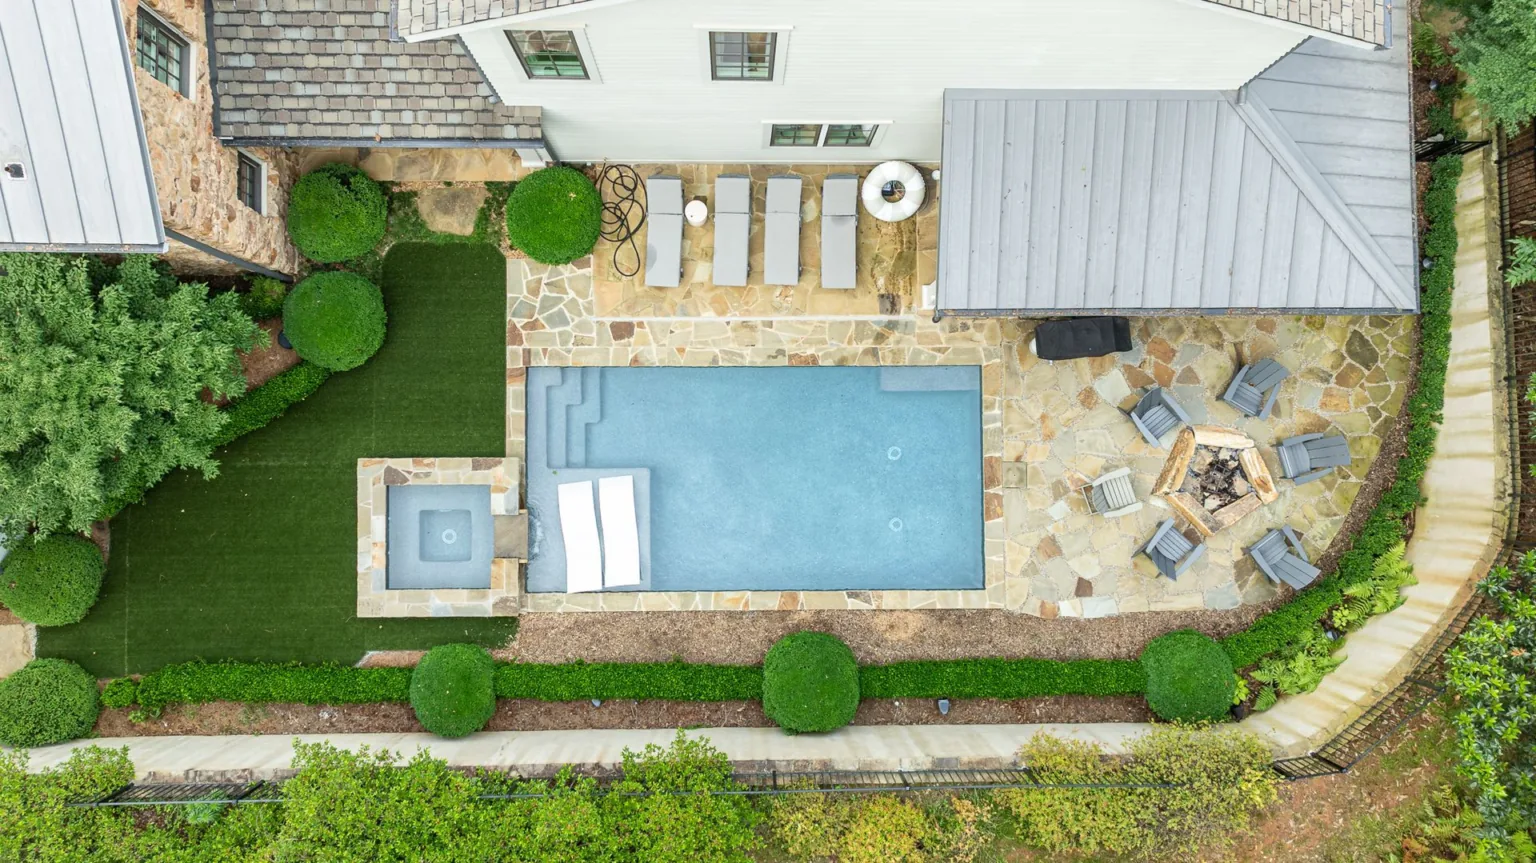
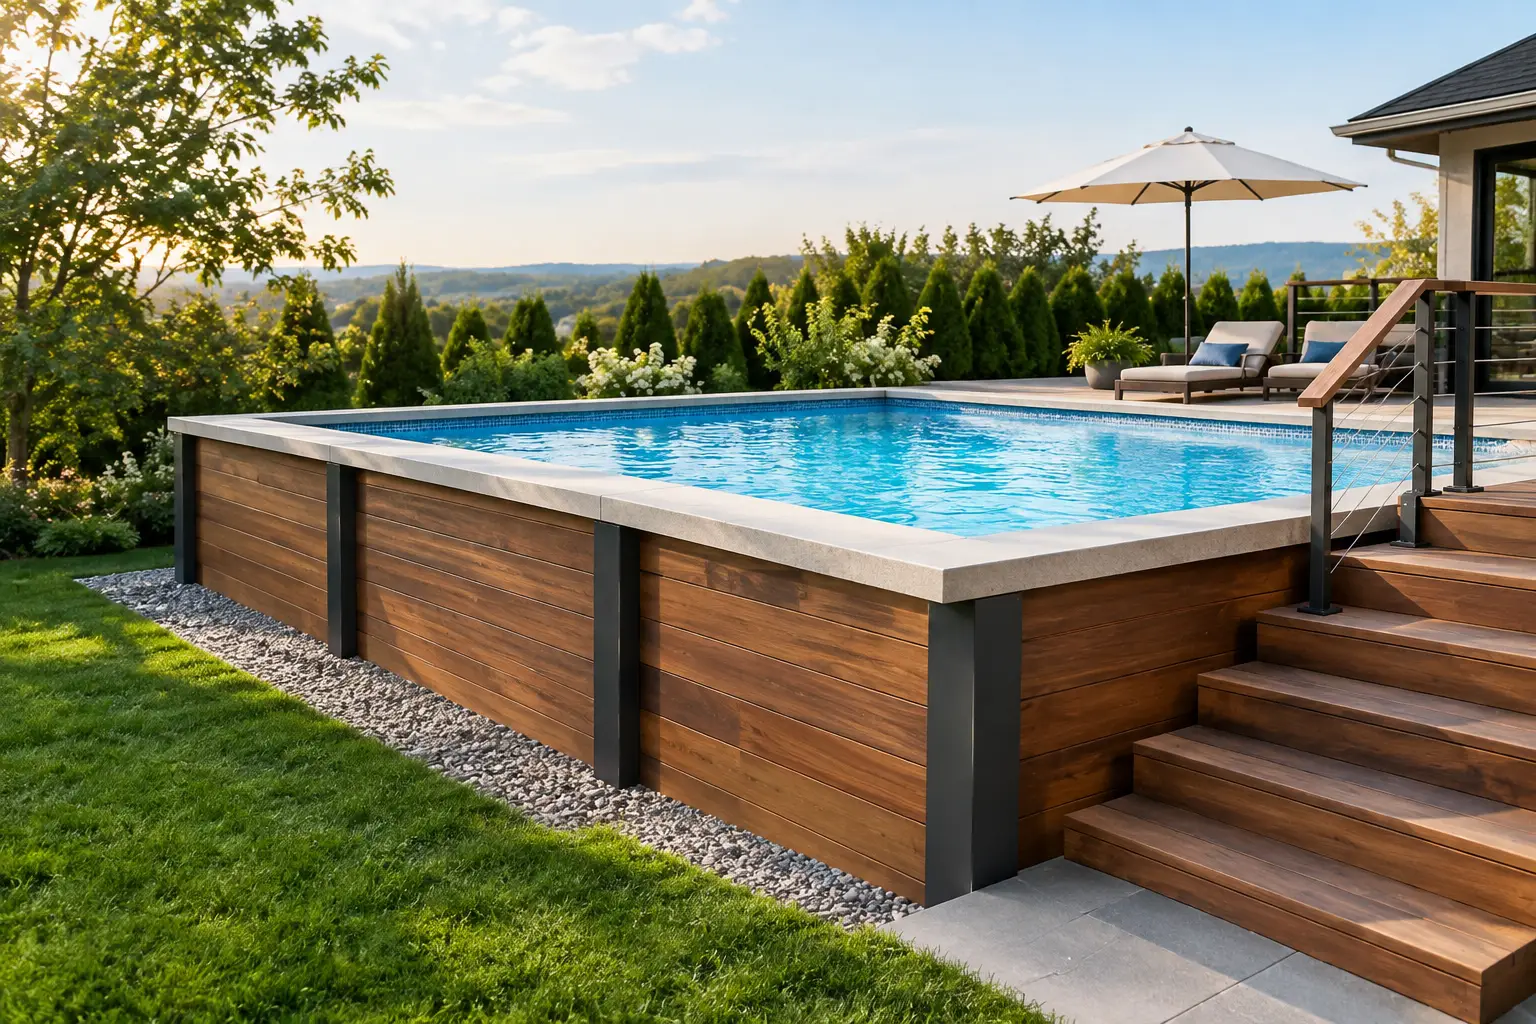
To design a raised beam pool well, start with the grade of your lot, then decide the beam’s height, location, finish and any water features based on how you will use the pool and what you will see from the house. A raised beam is the part of the pool wall that rises above the surrounding ground. When it is planned with a clear purpose, it gives the pool a strong architectural edge and can solve real elevation problems on Georgia properties.
This guide walks through the decisions in the order they matter, from site conditions to lighting and equipment.
What a Raised Beam Is
Every in-ground pool has a beam, the reinforced top section of the pool wall that ties the structure together. In a raised beam design, part of that beam is built up above the level of the area around the pool. It may run along one side of the pool, wrap around a spa, carry a water feature, or form a clean wall where the yard falls away.
Raised beams are most common on custom gunite pools, often called concrete or shotcrete pools, because the shell is formed on site and the wall height can be shaped to the design. If you are still weighing construction types, our overview of gunite pool construction explains why gunite offers this kind of flexibility.
Start With the Grade, Not the Tile
A raised beam should always have a construction or design job to do, and that job usually begins with the site. Many backyards in Northeast Georgia and Upstate South Carolina have gentle slopes, uneven transitions from the house, or a drop toward the back of the lot. Forcing a completely flat pool area on those properties can mean a lot of grading. Raising part of the beam can reduce that work while giving the pool a crisp, intentional profile.
Before you think about finishes, look at how water moves across the property. Georgia’s heavy rain makes drainage planning essential. The ground around the pool must slope away from the water and the house, and runoff should never collect against the raised wall. Poor drainage can lead to staining, soil movement in red clay, and problems that are hard to correct later. Our guide to pool drainage planning covers this in more detail, including how to handle grade changes.
Choose the Right Height
There is no single ideal height. The right dimension depends on how the pool relates to the house, the slope of the yard and the features you want.
- Low raised beam. Sitting just above the surrounding grade, a low beam adds definition without blocking views across the yard. It suits a clean, modern look and leaves room for chairs and walkways.
- Taller raised beam. A taller wall makes more of a statement. It can act as a seating wall, a backdrop for a water feature, or a way to handle a meaningful grade change. Tall walls are especially effective on the far side of the pool, where they become a focal point seen from the house.
Keep proportion in mind. A tall beam beside a compact pool can feel heavy, while a very low beam may disappear in a large open yard. The beam should look like part of the architecture, not a fix added to deal with a slope.
Check the Views From Inside the House
Most design decisions get made while standing next to the pool site, but the view through your rear windows and doors matters just as much. A raised beam can frame the water nicely from inside, especially with a linear water feature or contrasting tile. It can also block a view you care about if it is too tall or in the wrong spot.
Walk the property and look out from the kitchen, living room, primary bedroom and any covered porch. Those are the views you will live with every day, even when nobody is swimming.
Place the Beam Around How You Use the Pool
Good pool designs support real routines: family afternoons, quiet mornings, game days and bigger gatherings. A raised beam can help organize them.
If entertaining is the priority, use the raised wall to create a natural social side of the pool. A wide coping cap can give guests a place to perch near a tanning ledge or conversation area. A raised spa connected to the pool can become the centerpiece while giving adults a separate place to relax. See our guide to adding a spa to your pool for how the two work together.
For families, keep circulation clear. Avoid tight paths between the pool edge, furniture and the wall. Plan enough space around the pool for people to pass safely, for kids to move between the house and the water, and for access to equipment and features.
A raised beam can also help with privacy on lots with close rear neighbors. The wall alone rarely screens enough, but it can form a solid lower layer that works with fencing and plantings.
Select Finishes That Hold Up and Belong Together
The face of a raised beam has a big effect on the pool’s character. Natural stone brings warmth and texture to traditional or rustic homes. Large-format porcelain or tile suits cleaner, contemporary designs. Stucco-style and masonry finishes can also work well when they complement the home’s exterior.
The beam does not have to match everything around it, but the materials should share a logical relationship. A textured stone face pairs naturally with neutral coping, while a modern home may call for simple large-format tile, clean coping lines and restrained color.
Coping deserves as much attention as the wall face. It is the top cap people see and touch most often, so it should be comfortable, durable and slip-resistant, and it should not get uncomfortably hot in the Georgia sun. Also think about upkeep: heavily textured stone takes more detailed cleaning, and sleek tile can show water spots more readily. Talking through those trade-offs before materials are installed avoids surprises.
Add Water Features With Restraint
Raised beams are natural locations for scuppers, sheer descents, spillways and wall fountains. Moving water adds sound and motion, but each feature should fit how the pool will be used.
- A sheer descent looks striking on a simple modern wall.
- Scuppers spaced evenly across a beam give a rhythmic, architectural effect.
- A spa spillway makes sense when a raised spa is part of the design, connecting the two bodies of water.
Do not add several features just because the wall can hold them. Too much moving water can drown out conversation and adds equipment complexity. One well-placed feature usually has more impact than several competing ones. You can browse options on our pool features and finishes page.
Plan Lighting and Equipment Early
Lighting is one of the easiest ways to make a raised beam look finished after dark, but it has to be planned before construction. Pool lights illuminate the water, and accent lighting can highlight a textured wall face or water feature. Aim for soft layers rather than glare, and keep fixtures from shining into seating areas or toward the house.
Equipment belongs in the plan too. Pumps, controls, heaters and feature valves should be easy to reach but out of the main sightlines. Water features on a raised beam need plumbing and pump capacity that are designed into the pool from the start.
Design It as One Plan
A raised beam works best when its height, finish, features and drainage are decided together during design, not added late. At Bulldog Pool Builders, every custom pool design is modeled in 3D before construction, so you can see the beam height, the view from the house and the space around the pool before any digging starts.
The right answer might be a low beam with a single spillway, or a taller stone-faced wall that handles a sloped yard and frames a raised spa. What matters is that every elevation, material and feature has a job. If you are considering a raised beam pool, schedule a consultation or call (706) 705-7751 and we will walk your property with you.